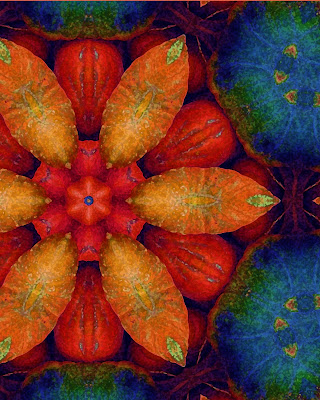
First I start with a photograph that has a variety of colors, textures, and/or shapes:
Then, I add saturation and play with the colors till I come up with something that pleases my eye:

I then open the saved file in another photo program where I "kaleidoscope" the image, adjusting until I like the result. Finally, I crop the image assymetrically in order to get this "Whirly Girl" image:

I'd love to hear your feedback and any suggestions of images that you would like to see "kaleidoscoped" in this way! Leave your comments below!
◘◘◘◘◘◘◘◘◘◘◘◘◘◘◘◘◘◘◘◘◘◘◘◘◘◘◘◘◘◘◘◘◘◘◘
Check out more of our cards and photos at
http://madebyswirlygirl.etsy.com
◘◘◘◘◘◘◘◘◘◘◘◘◘◘◘◘◘◘◘◘◘◘◘◘◘◘◘◘◘◘◘◘◘◘◘

I don't think you need our suggestions. You are doing a fabulous job. Ever one of them is terrific!
ReplyDeleteLaurie, This is fascinating! What a difference from the original photo. Really interesting post.
ReplyDeleteThanks, Ladies! I love doing the kaleidoscopes. I think they are my favorite to do, actually!
ReplyDeleteawesome how to :)
ReplyDeleteBeautiful work and so fun to see your process! Thanks for sharing.
ReplyDeleteThat is so interesting, and Very Cool!!
ReplyDeleteDon't forget to check out my Watercolors blog, to win an Original :)
ReplyDeletexo Laura
Wonderful image, I love the balance of colours!
ReplyDeleteThank you all! I appreciate your comments!
ReplyDeleteThanks for sharing your process. Your work is lovely!
ReplyDeletePeace, Judi